
CNC Mill
Full documentation from inception idea to creation of the final project
When Mr Willauer told us about this project I though it would be easy, I was wrong. I spend a lot of time trying to figure out how to design it in inventor. It was really hard to do the two top holes, little did I know that was the easy part. The hard part was learning fusion 360. But when we finished that, it was super easy to cut it out and laser my name in it.
“Recipe”
First, Create a new Part file .ipt, State your 2D sketch with either a rectangle or a square corner. Then dimension the rectangle. Create all circles for holes, dimension them for size and placement. Create circles for the outter edges, use the line tool to connect the circles for outter edge. Then select the Tangent Tool and click on line and circle. Do this for all circles/lines for outter edge of part. Use the Trim Tool to click on lines that are not needed for the general shape. Then click Finish Sketch and Extrude it. Then click create new 2D sketch and use the circle tool to create raised circles. Then use a line that extends beyond the raised circles to cut them out. Dimension the line and then trim the parts that are not needed. Finally click finish Sketch and Extrude.
Screenshots showing your digital documents from Inventor and Fusion 360
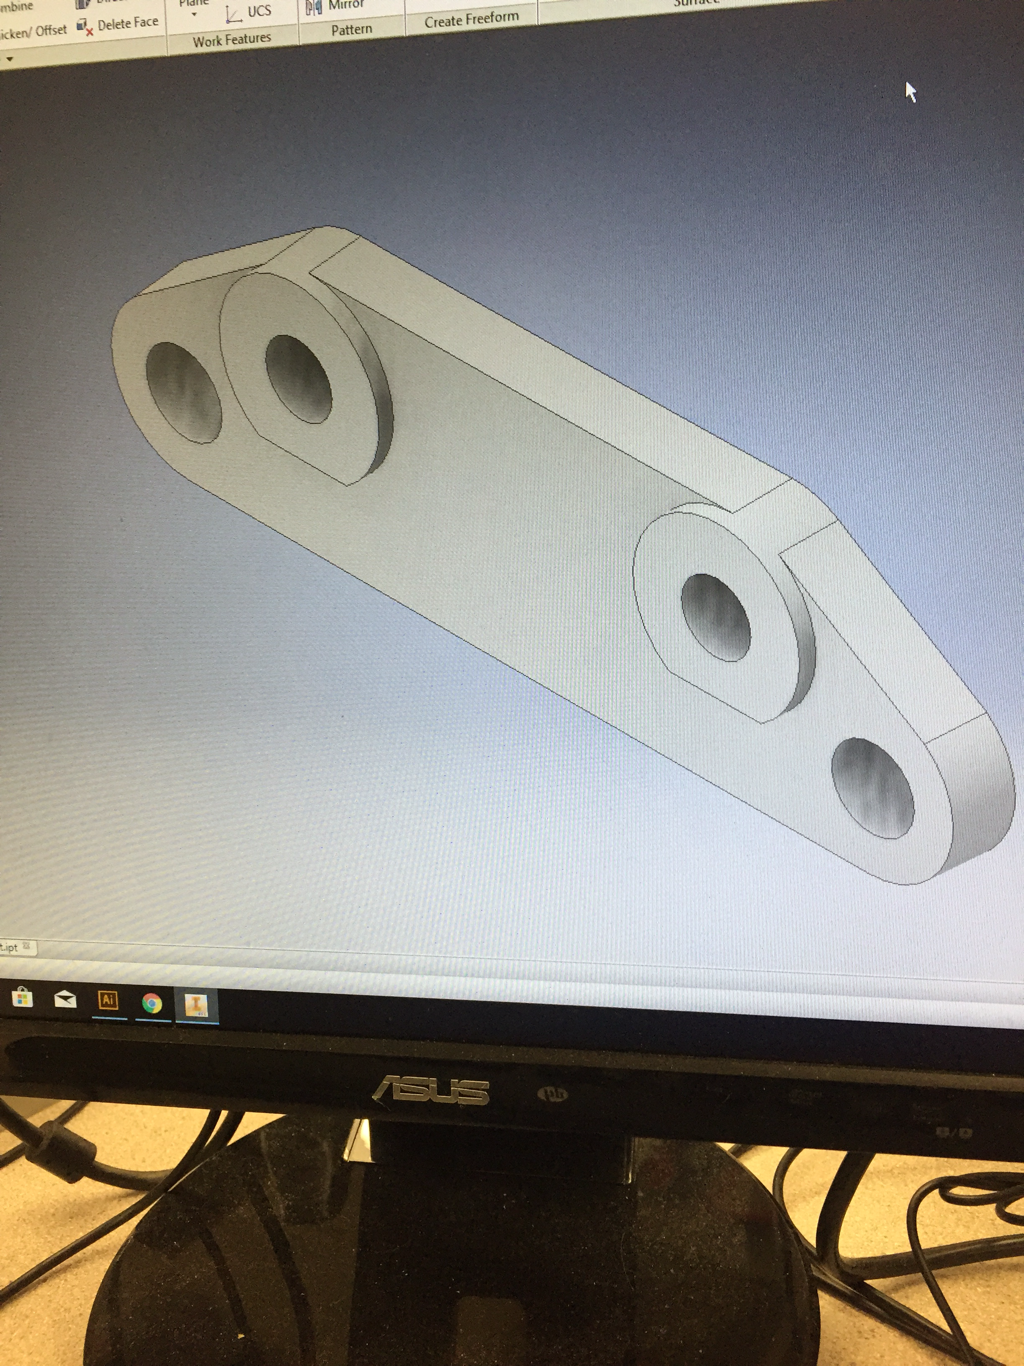
|
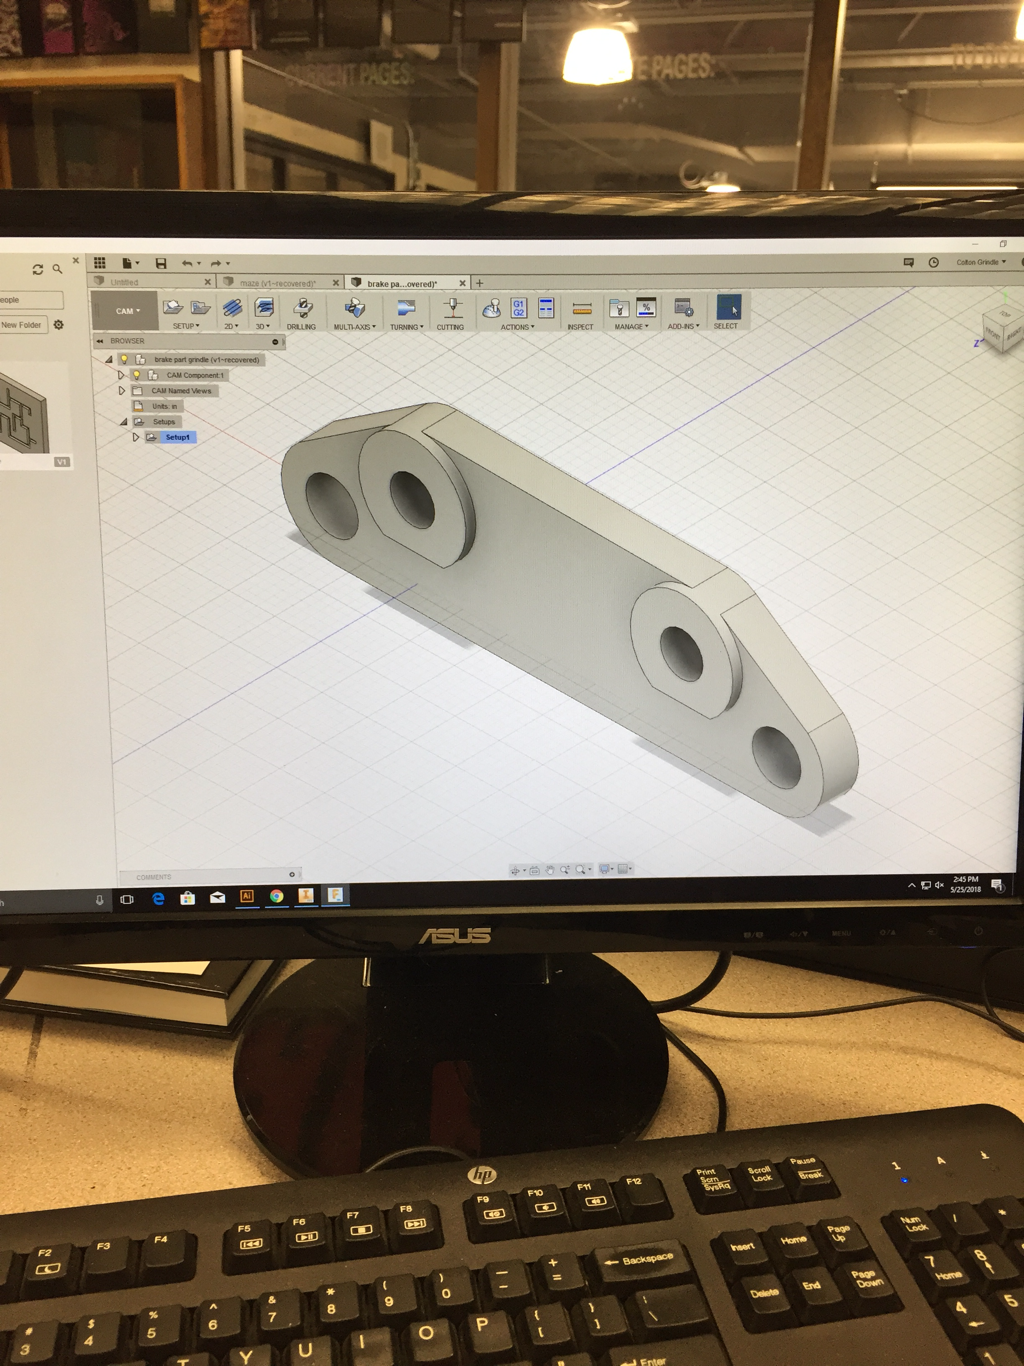
|
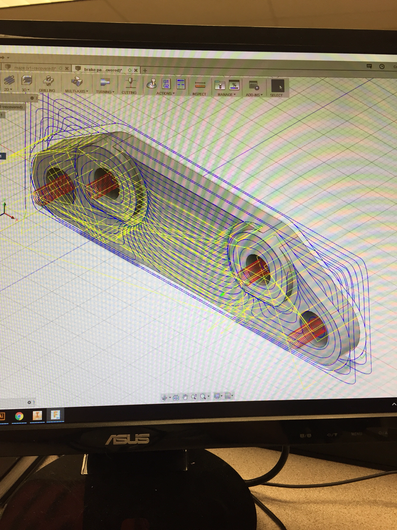
Screenshots from setting up your
Toolpaths in Fusion 360
Photos of you setting up the Mill and using it
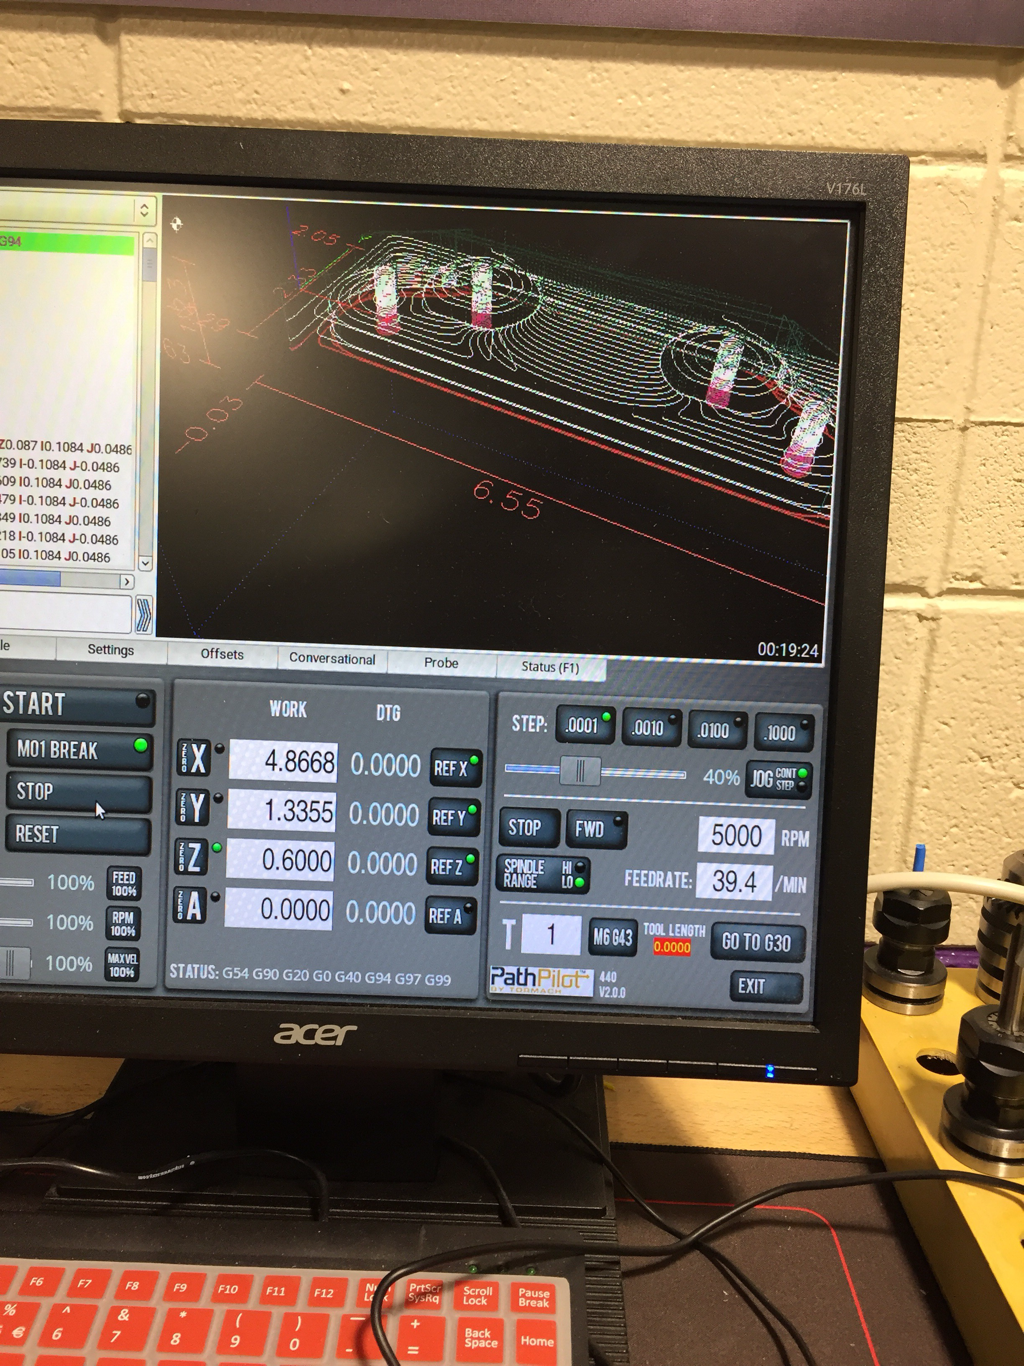
|
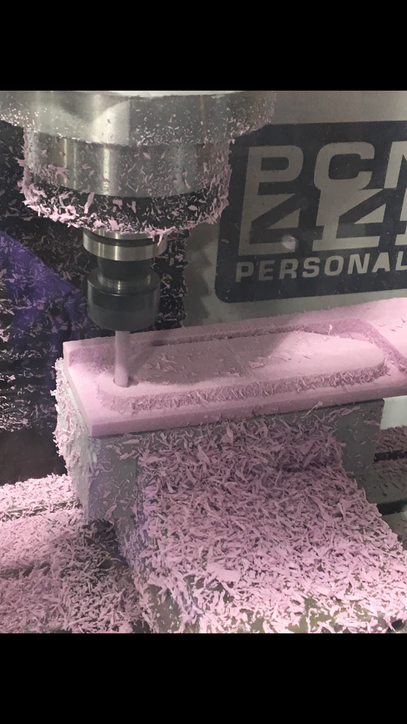
|
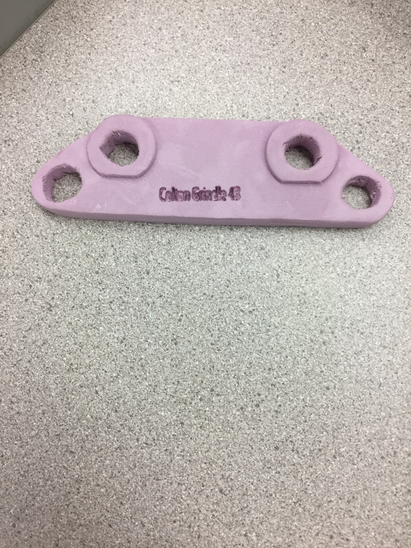
Final Break Part
Summary paragraph of what you learned in this individual Mill Rotation
I learned how to cut out so much stuff on cutting out foam. I learned how in depth that the router can go. How using programs like fusion you make the machine do whatever you want. Weather its cutting it out all the way down, or just cutting it half way. It also cuts it out very fast, so be careful.
