
Final Project
Full documentation from inception of the idea to creation of the final project
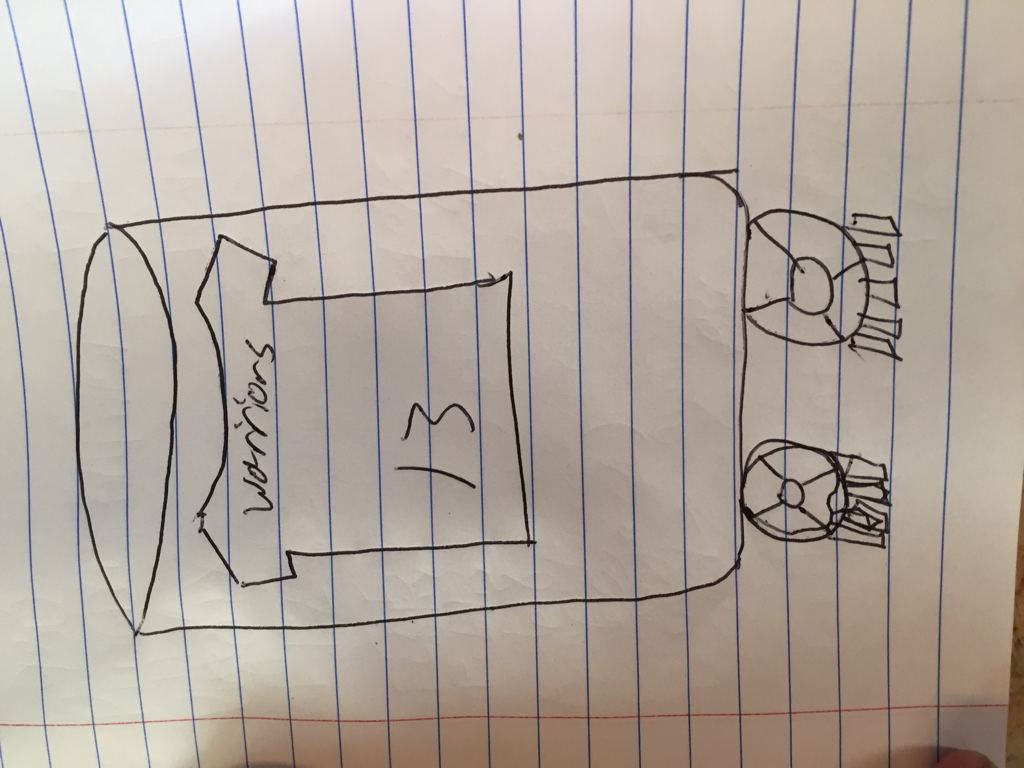
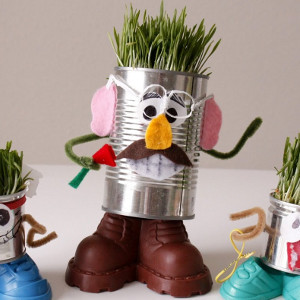
At the start of this project when Mr Willauer first introduced us to this project I had no idea what me and my partner were going to do. I was looking at the recommended websites and just couldn't find anything good. Until, I over herd the group talk about a bird feeder. Then I started looking for bird feeders then I came across this Mr potato head planter. I think got the Idea of a planter that was Waunakee Warrior football themed. We could vinyl the names and numbers, engrave the jersey, and finally 3d print the cleats.
Sketches/Pre-search from your designer notebook
Recipe
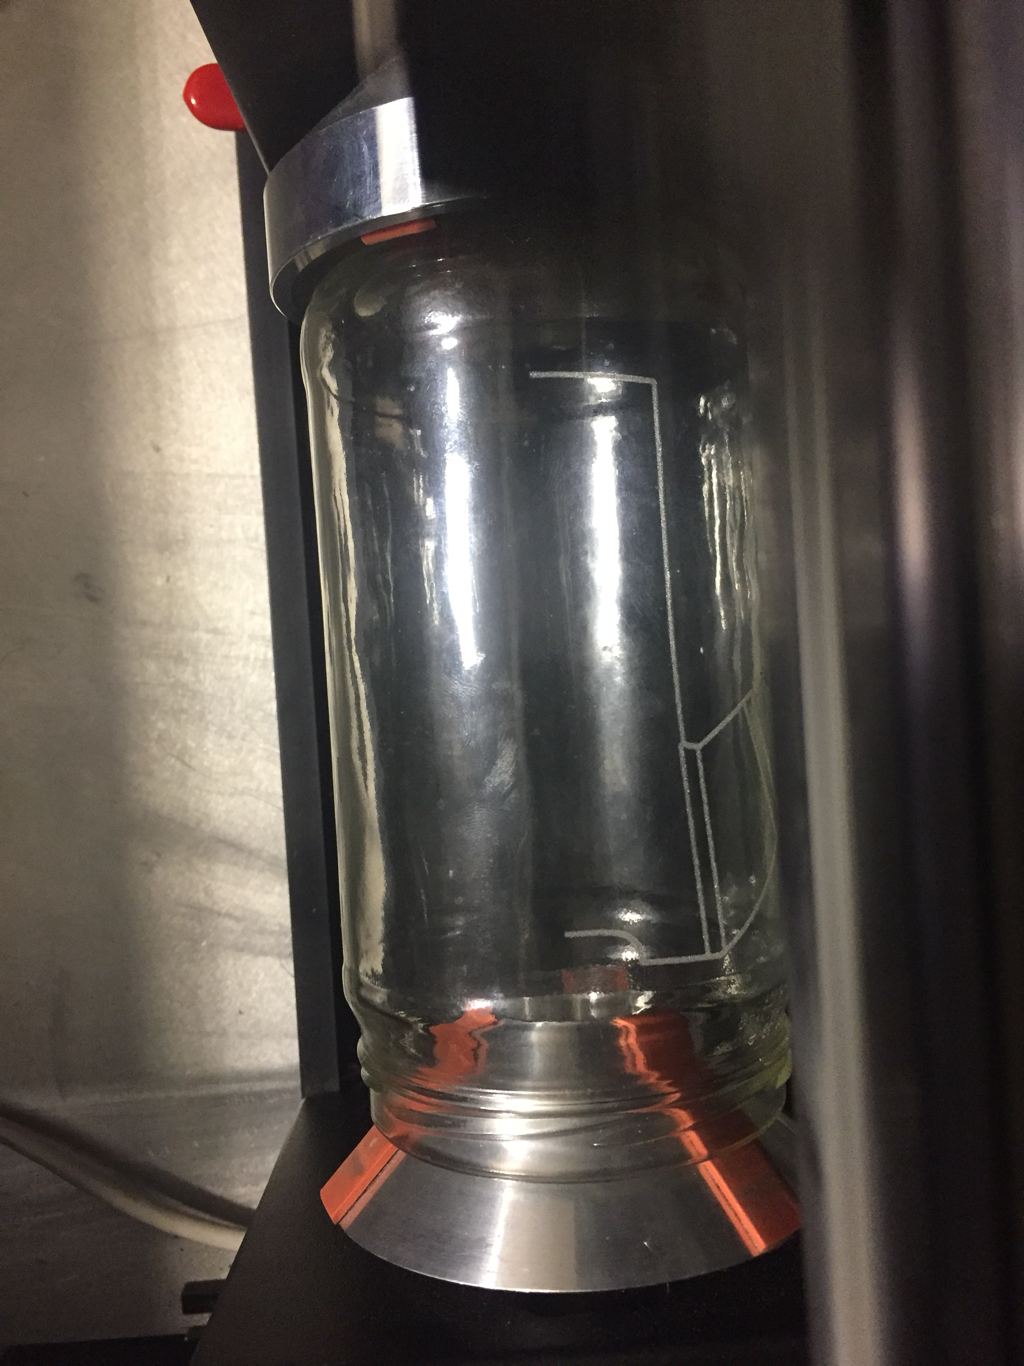
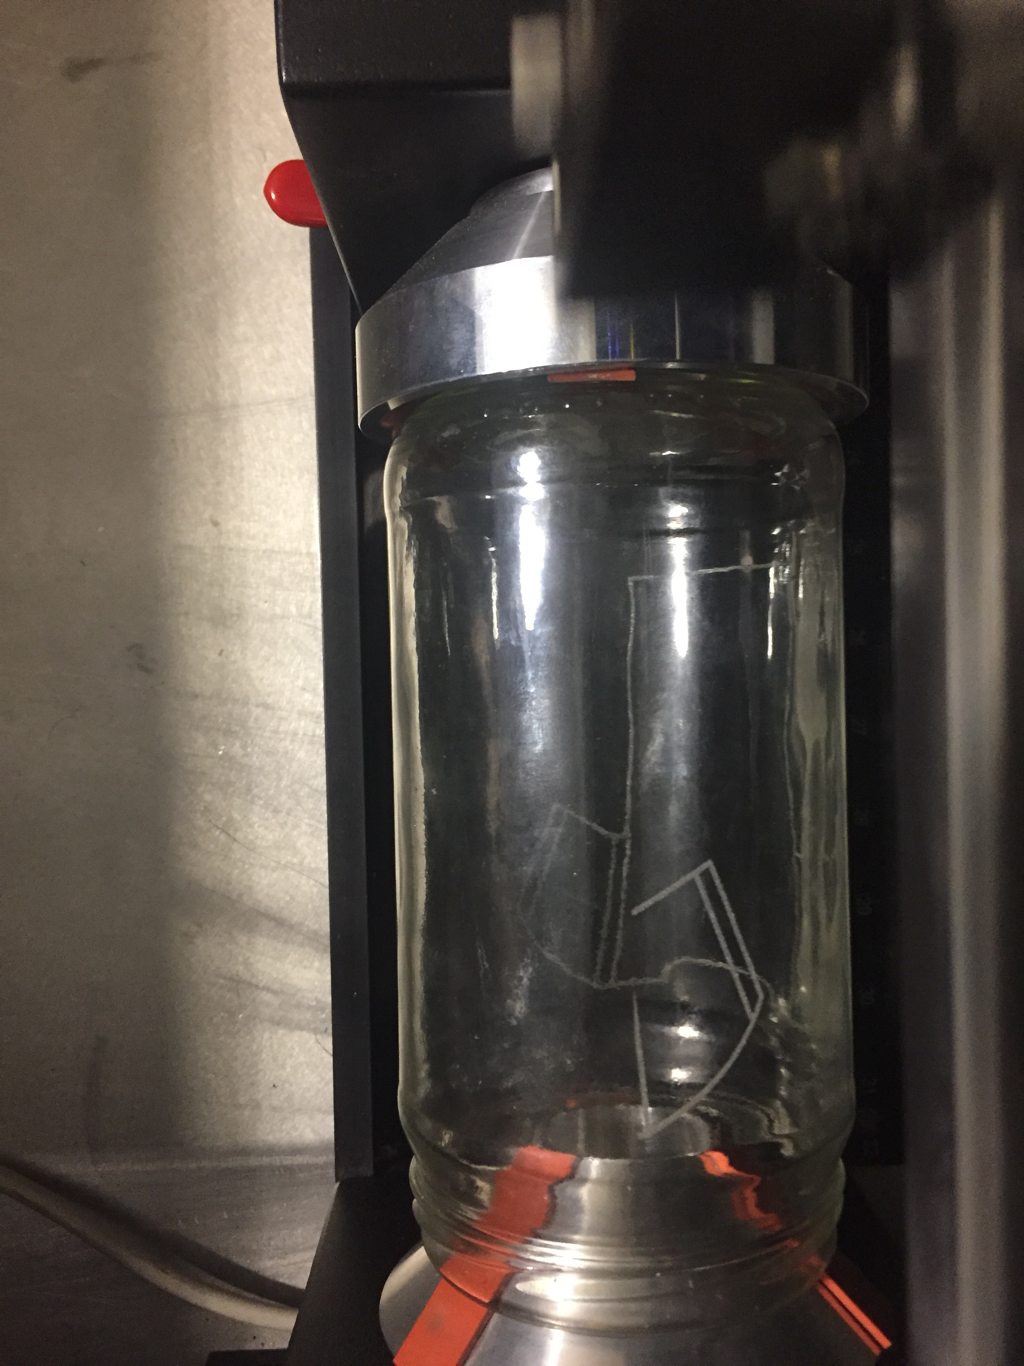
Laser Engraver
Open the Illustrator file on the computer that is set up with the laser. Then hit File, Print. Then click the printer called VLS6.60. Then hit Setup. Go to the Materials Tab and use the caliper to measure the thickness of the material. Find the material you are using.. Then click OK. Open the UCP software from the desktop for the laser. Then turn on the laser. Make sure exhaust is on (switch on the wall). Put the material in the laser and line it up with an edge. Your image should show on the screen. Use the Focus tool to move the laser to your material. Then line the laser up with one of the corners of your printing space on the material. Click the Relocation tool, and select the matching corner of your design to where you placed the laser on the material. Go back to the tool and check all for corners of your image to make sure it won’t print off of your material. Finally press the large green play button.
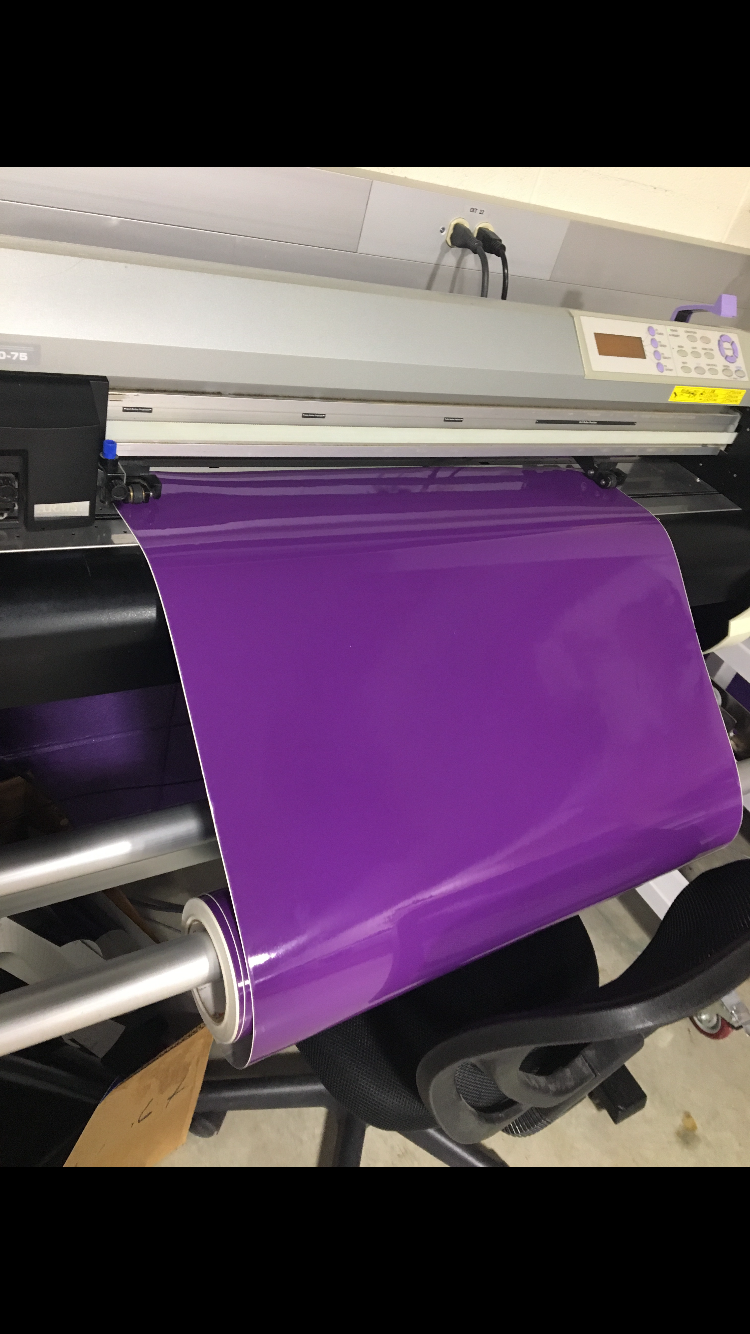
Vinyl Cutter
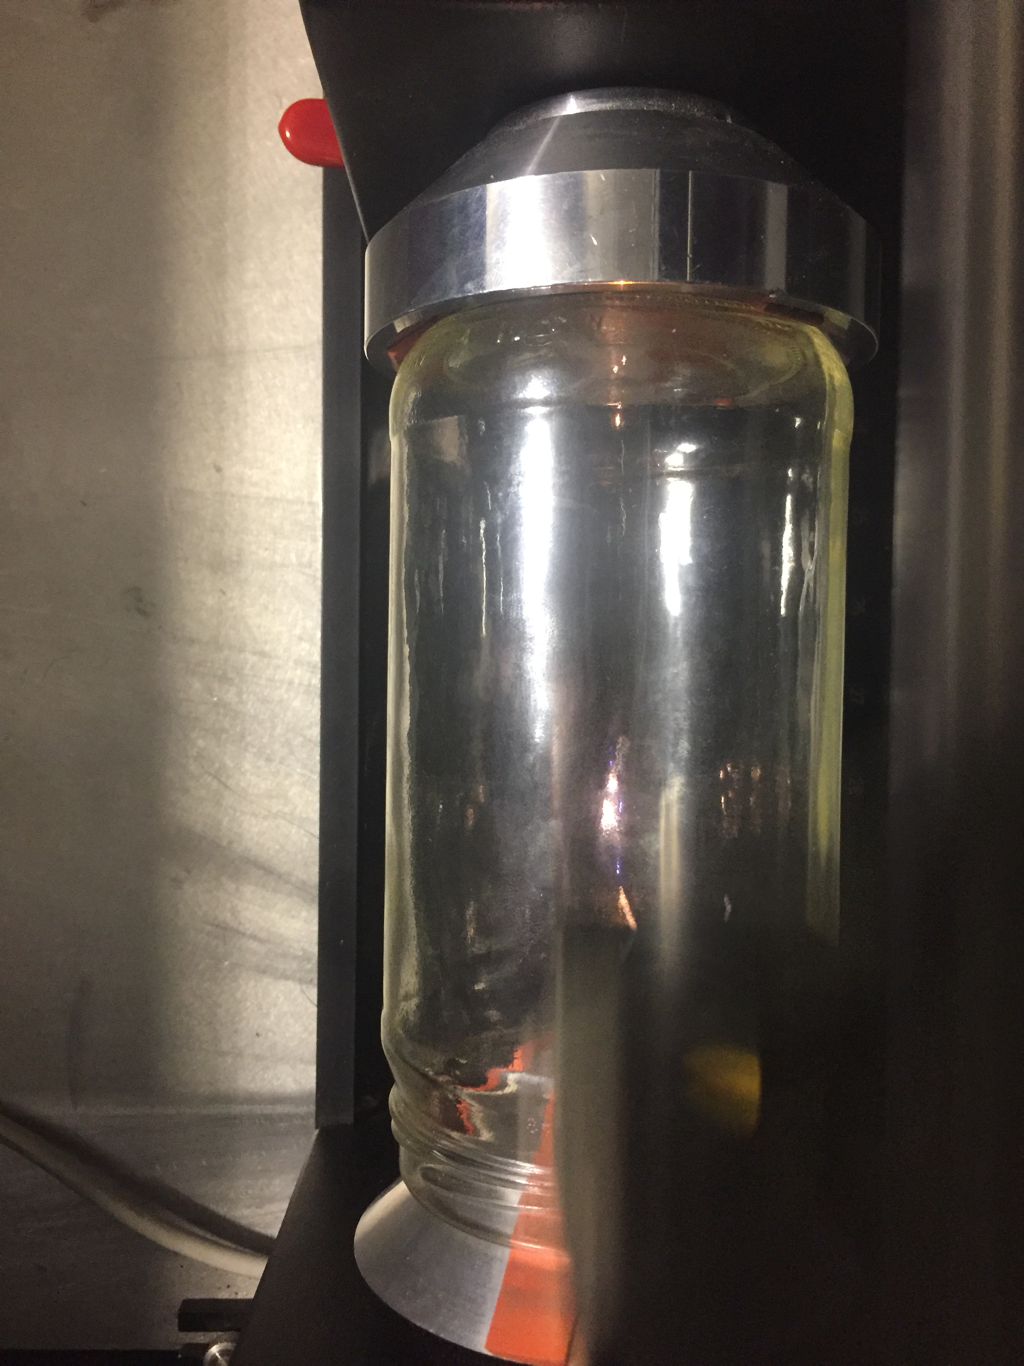
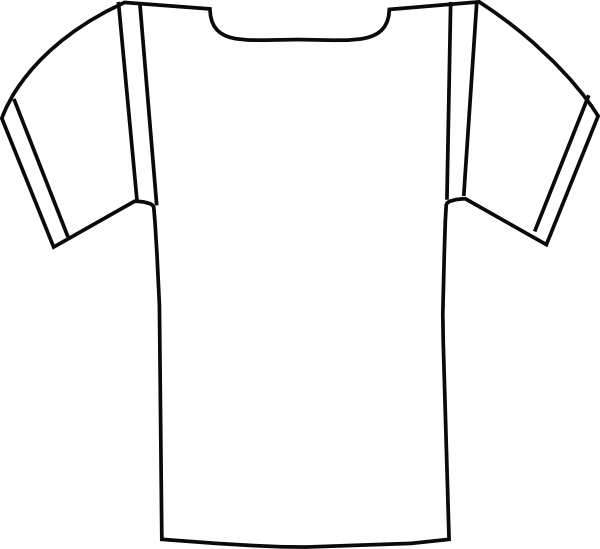
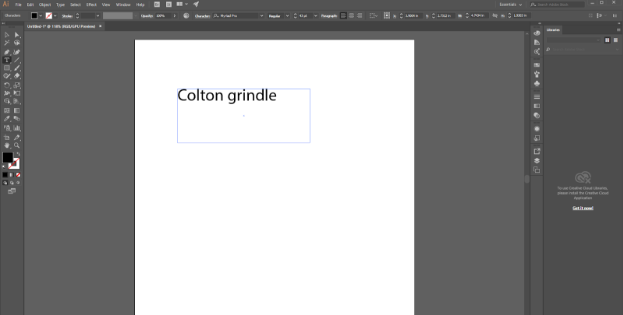
First I opened the Illustrator Program up. I then made a new document, changed the units to inches and made the size of the document 8 inches by 3 1\3 inches. I then typed me and my partners first and last name, and our football numbers. I then saved the document and put the file on my flash drive. I then opened the document on the vinyl machine and put the color vinyl I wanted on the roller. I then cut the vinyl images out using the vinyl cutter. I then cut the vinyl off the roll. I then placed the vinyl on masking and sealed the vinyl to the masking tape. Then taking the masking tape and placing the vinyl on the jar were I wanted it and used the tool to press the vinyl down. Then removed the masking tape leaving a the purple vinyl on the jar. I then repeated foe each of the vinyl cutouts.
|

|
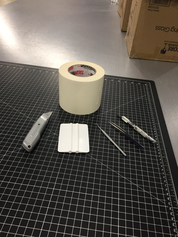
We then applied the vinyl with these tools
|
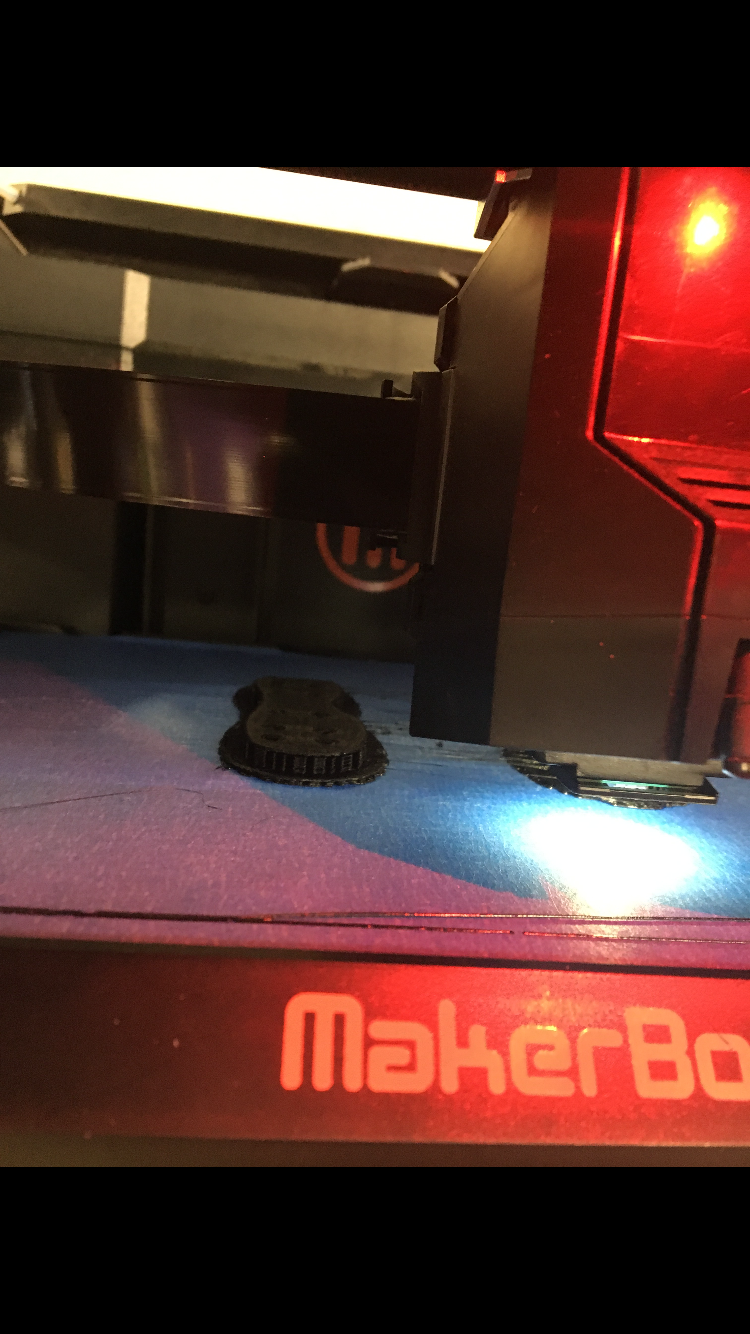
3-D Printer
First design your image in Inventor. The open up Maker Bot. And first click on settings in MakerBot. Then check if quality is at standard and that raft is checked. Also put on supports only needed if you have an object that has an overhang or something that is not supported by the printing bed. Then click OK, Export Print File. Click save then a export box will pop up to prepare your preview of your object. When finished press Print Preview. Use the layer slider on the left to see how your print will run. Then click close, OK, and put your MakerBot file on your flash drive. Take your flash drive/file on it down to the Innovation Center and Insert your flash drive into the front of the printer. Use the wheel to scroll to USB Scroll to find your file. Press the wheel to select and wait for the machine to heat. Stay with the printer until your raft is complete and the object has started to print.
Screenshots showing your digital documents.
|
|
|
Screenshots from setting up your Items on the equipment

|
|
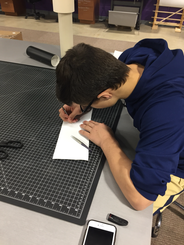
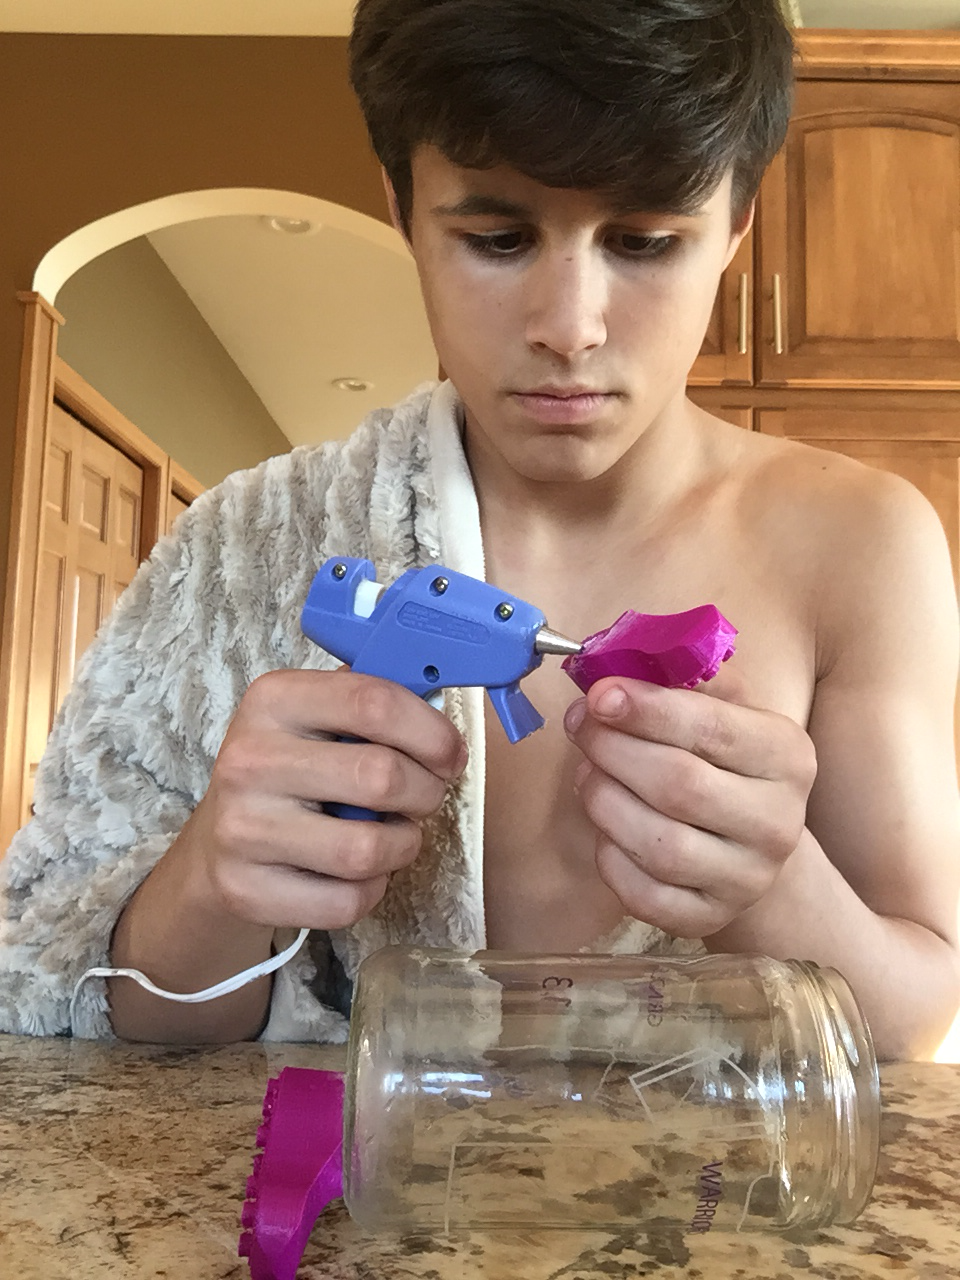
Pictures of you working on your project
|
|
|
Picture of your final projects doing what it was intended to do
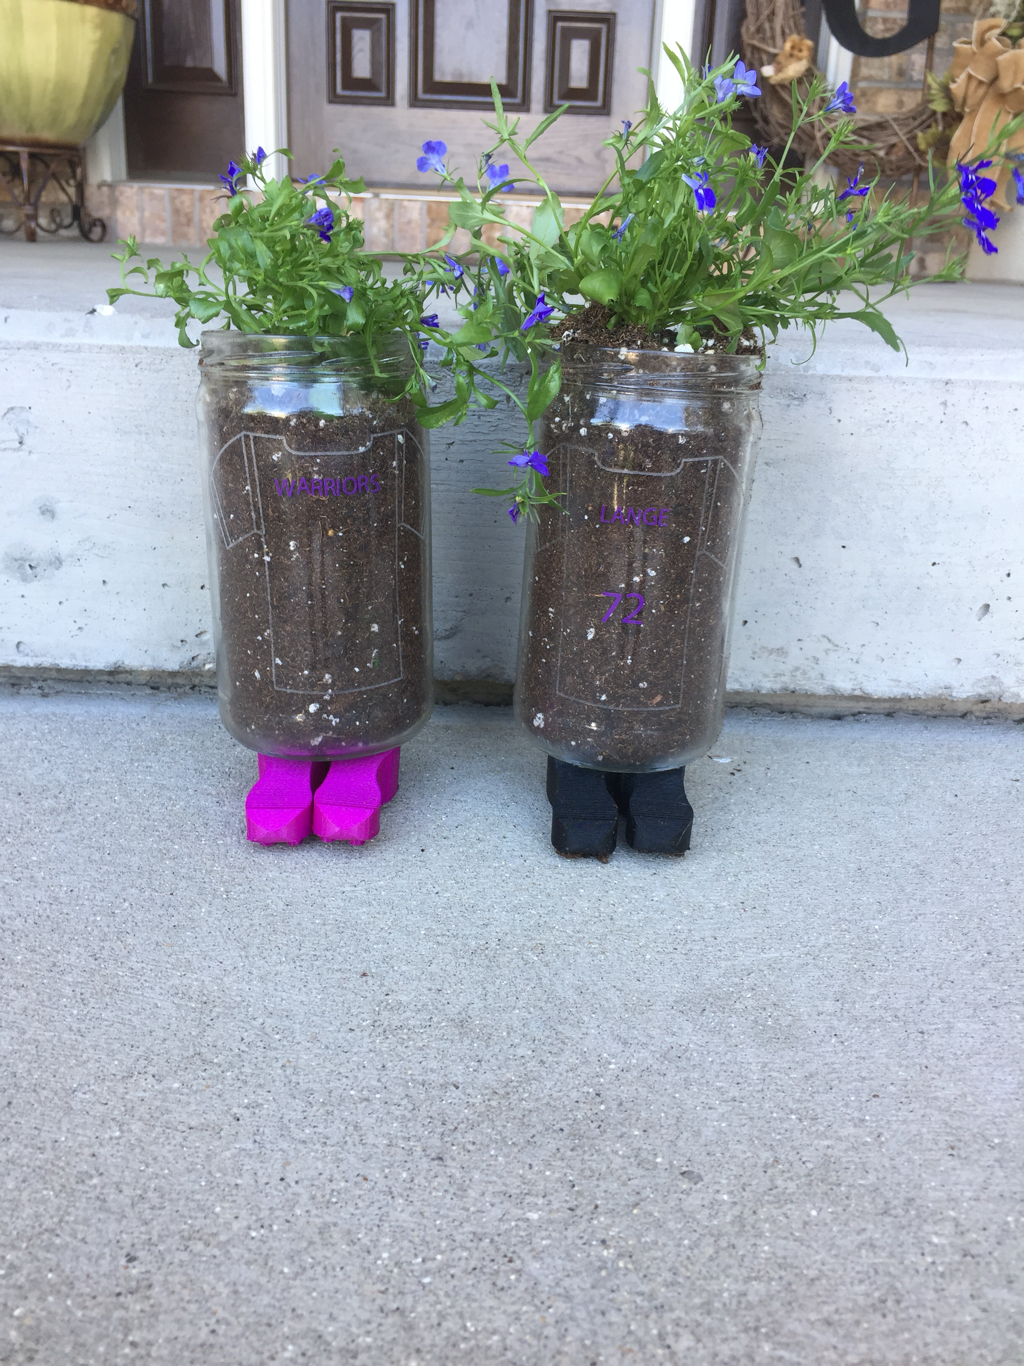
|
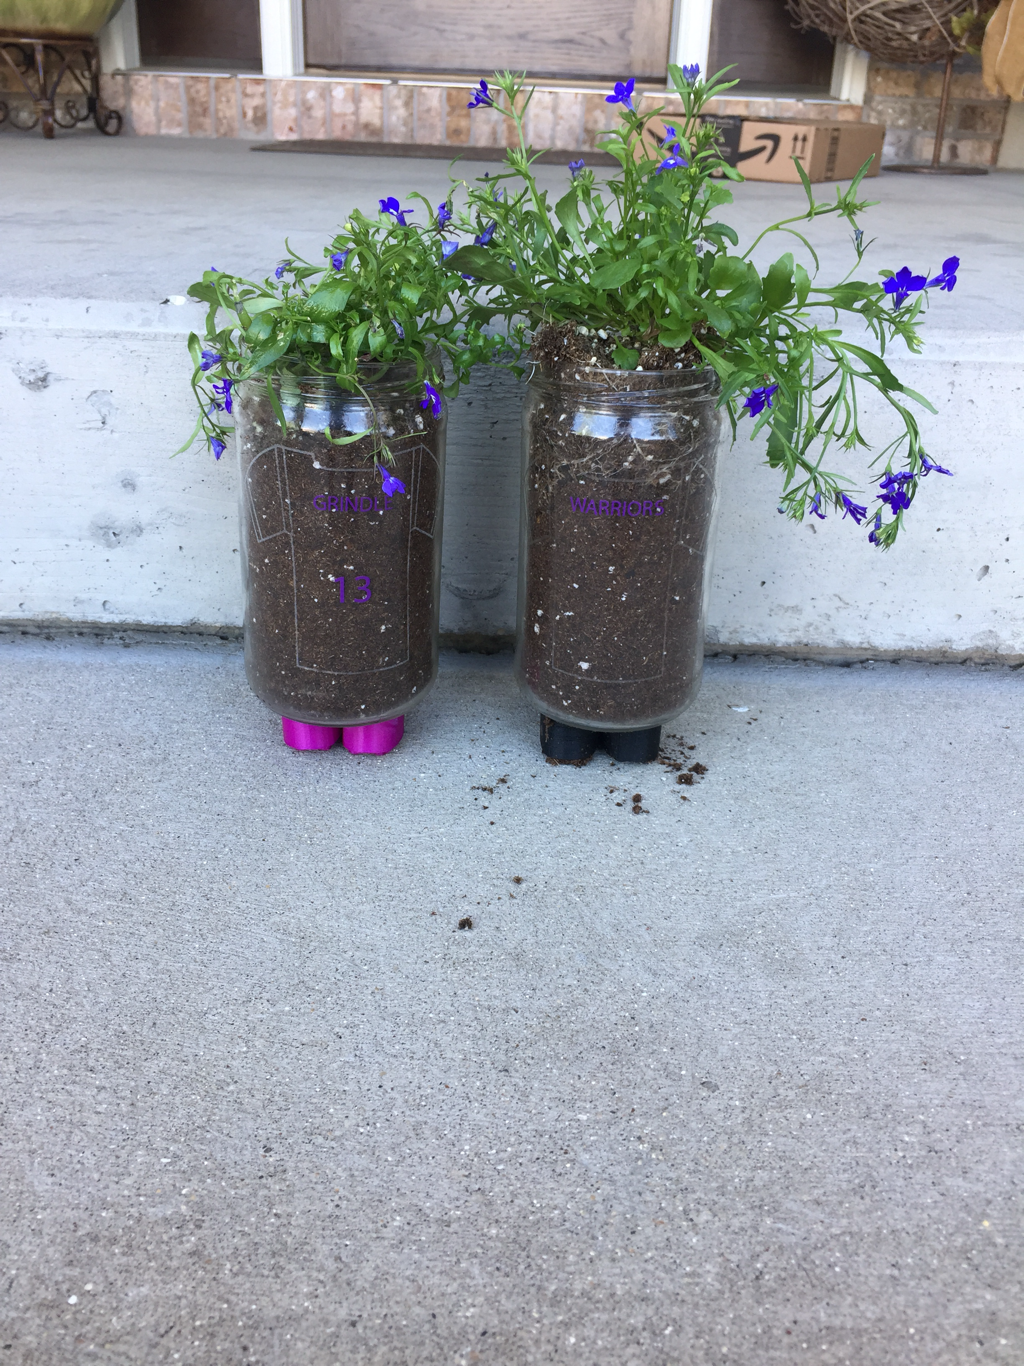
|
Summary paragraph of what you learned in this individual Laser Rotation
I learned a lot with this individual project. I learned that just because a object is used for one thing doesn't mean it cant be used for another. Such as using a Tostitos salsa jar to make a waunakee warrior planter. All you need is an idea and some time. It also helps to have very expansive innovation center so you can 3d print, laser engrave, and vinyl cut your project.
Students used a minimum of three pieces of Innovation Center equipment
Laser engraver - to engrave the jersey outlines onto the Jar
3-D Printer- To print out the cleats that are on the bottom if the jar
Vinyl Cutter- To vinyl our names and numbers on the back and warriors on the front
3-D Printer- To print out the cleats that are on the bottom if the jar
Vinyl Cutter- To vinyl our names and numbers on the back and warriors on the front
