
Full documentation from inception of the idea to creation of the final project
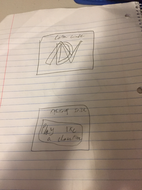
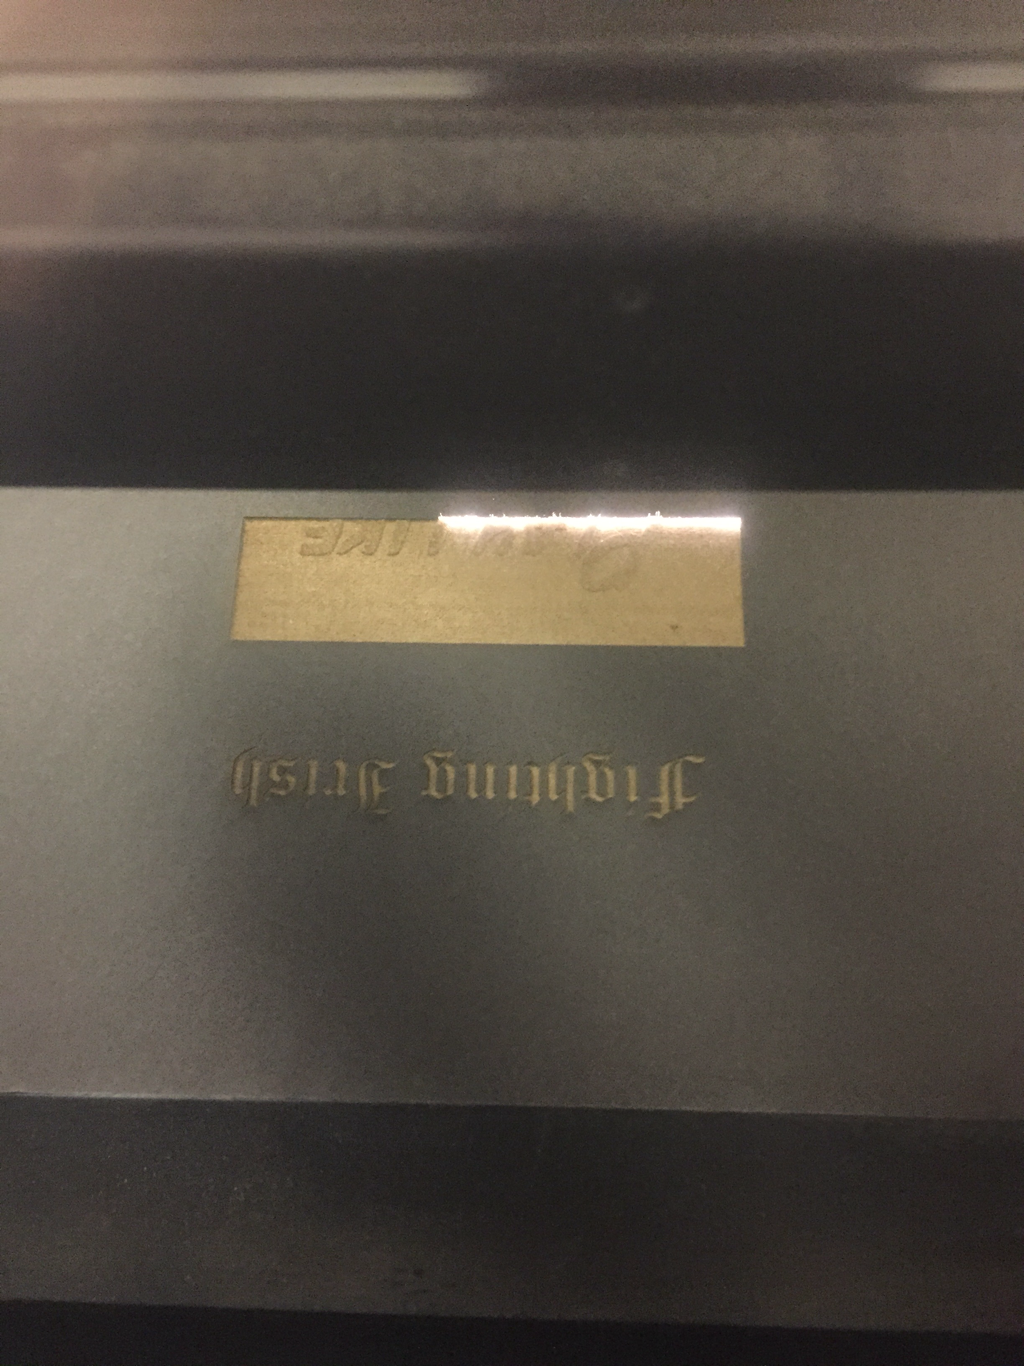
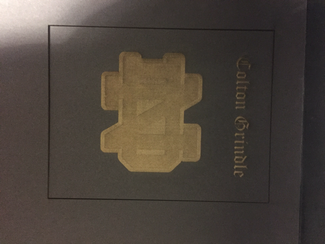
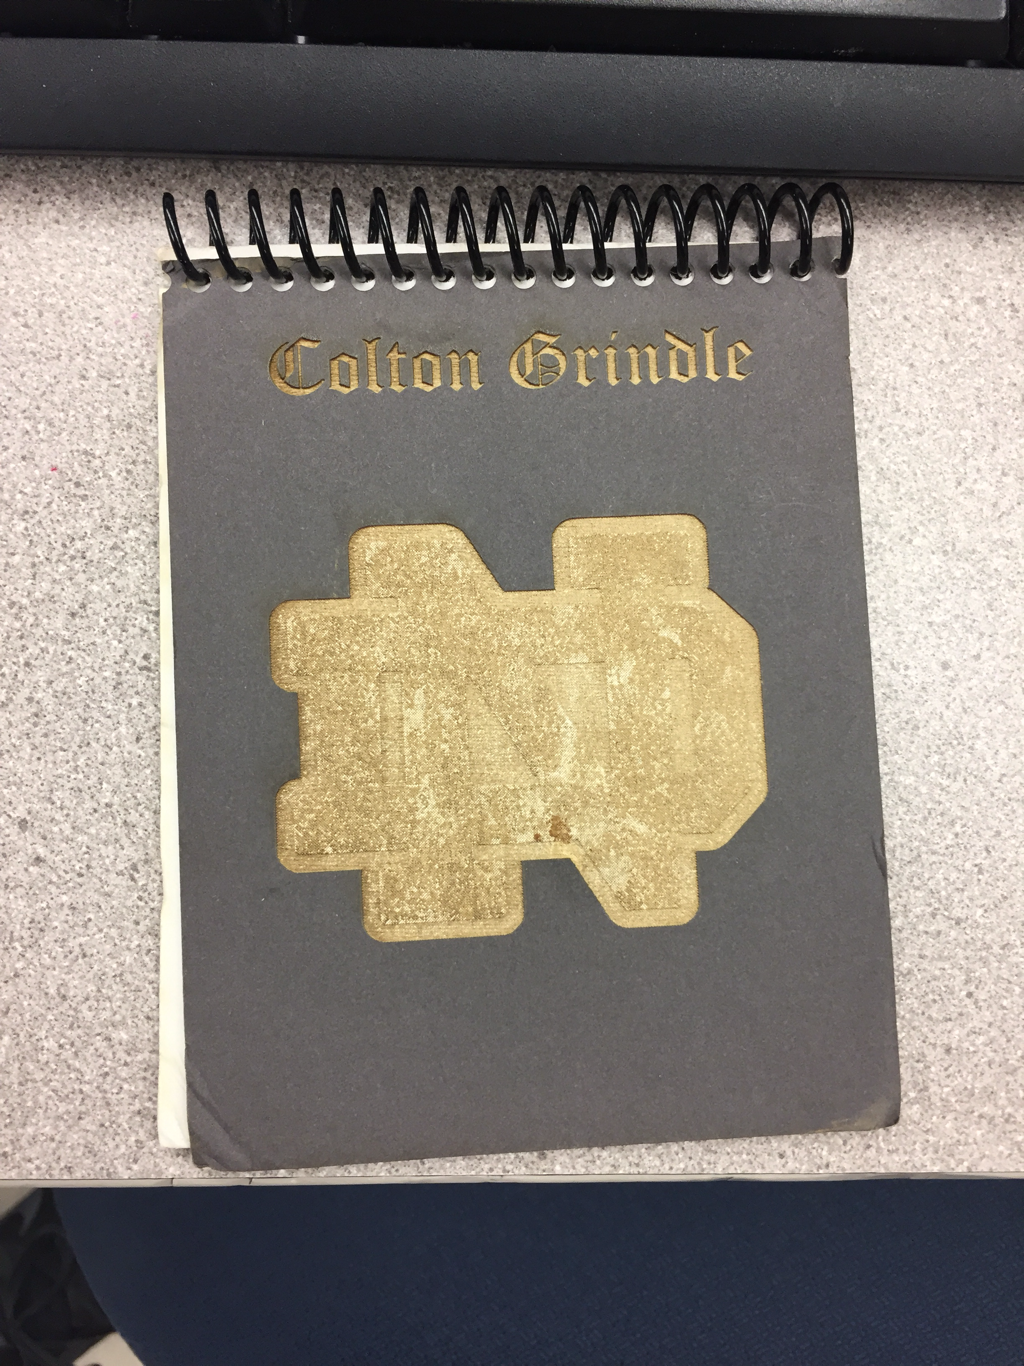
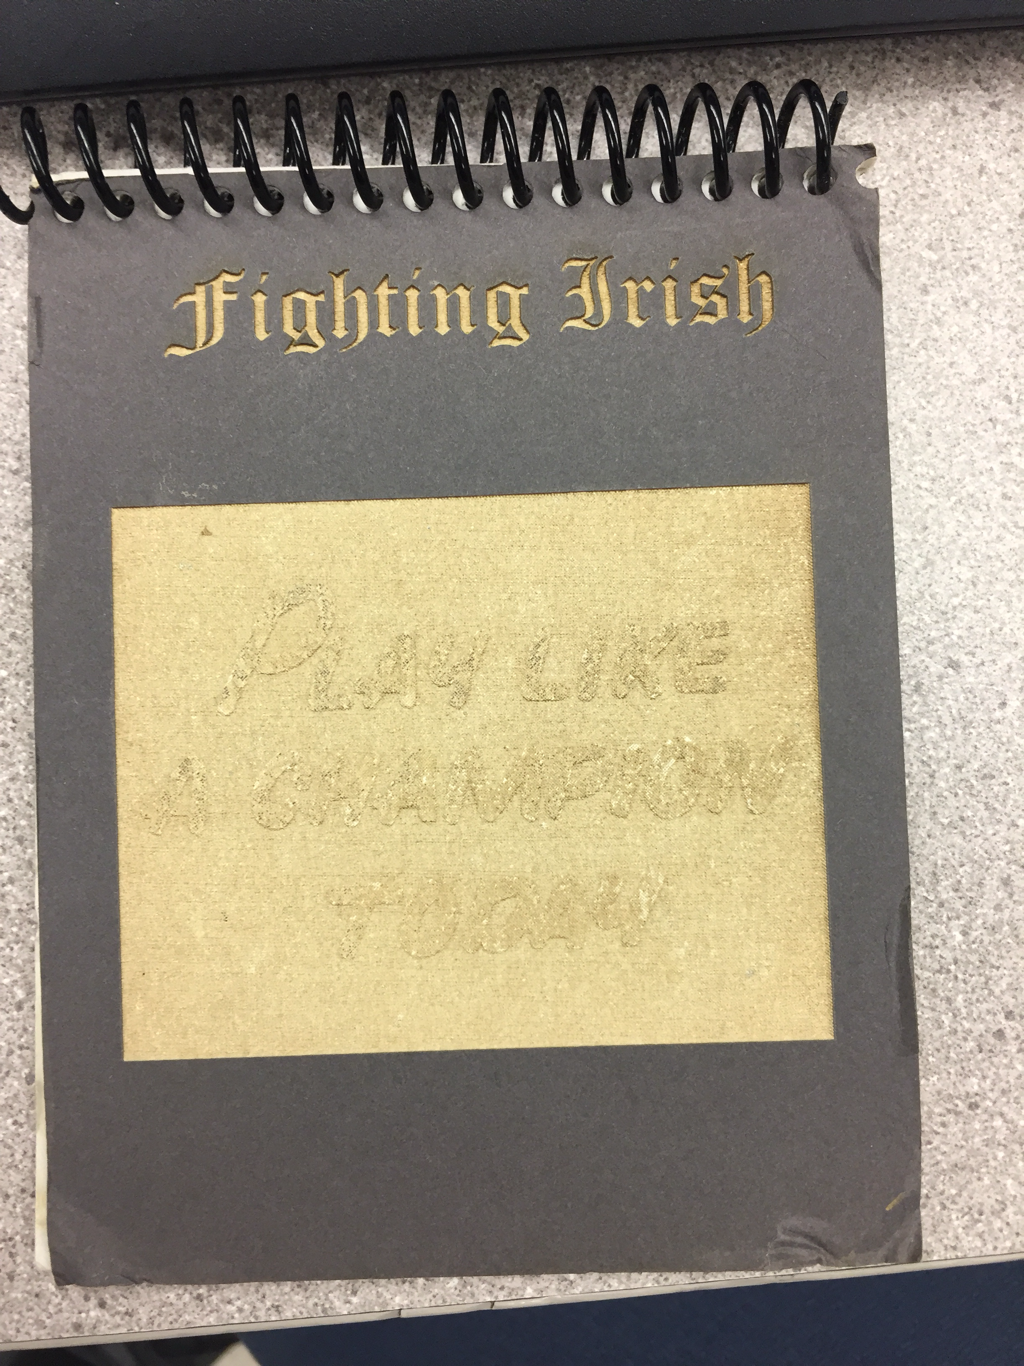
Notebook: When our teacher first introduced us to the notebook I imidatly came up with my final Idea. I thought of two images one for the front and one for the back. For the front I wanted to write my name at the top in a cool font. I would also place an image under it, that image would be a picture of the Notre Dame logo. On the Back I would write Fighting Irish and place a picture of the "Play like a Champion" banner.
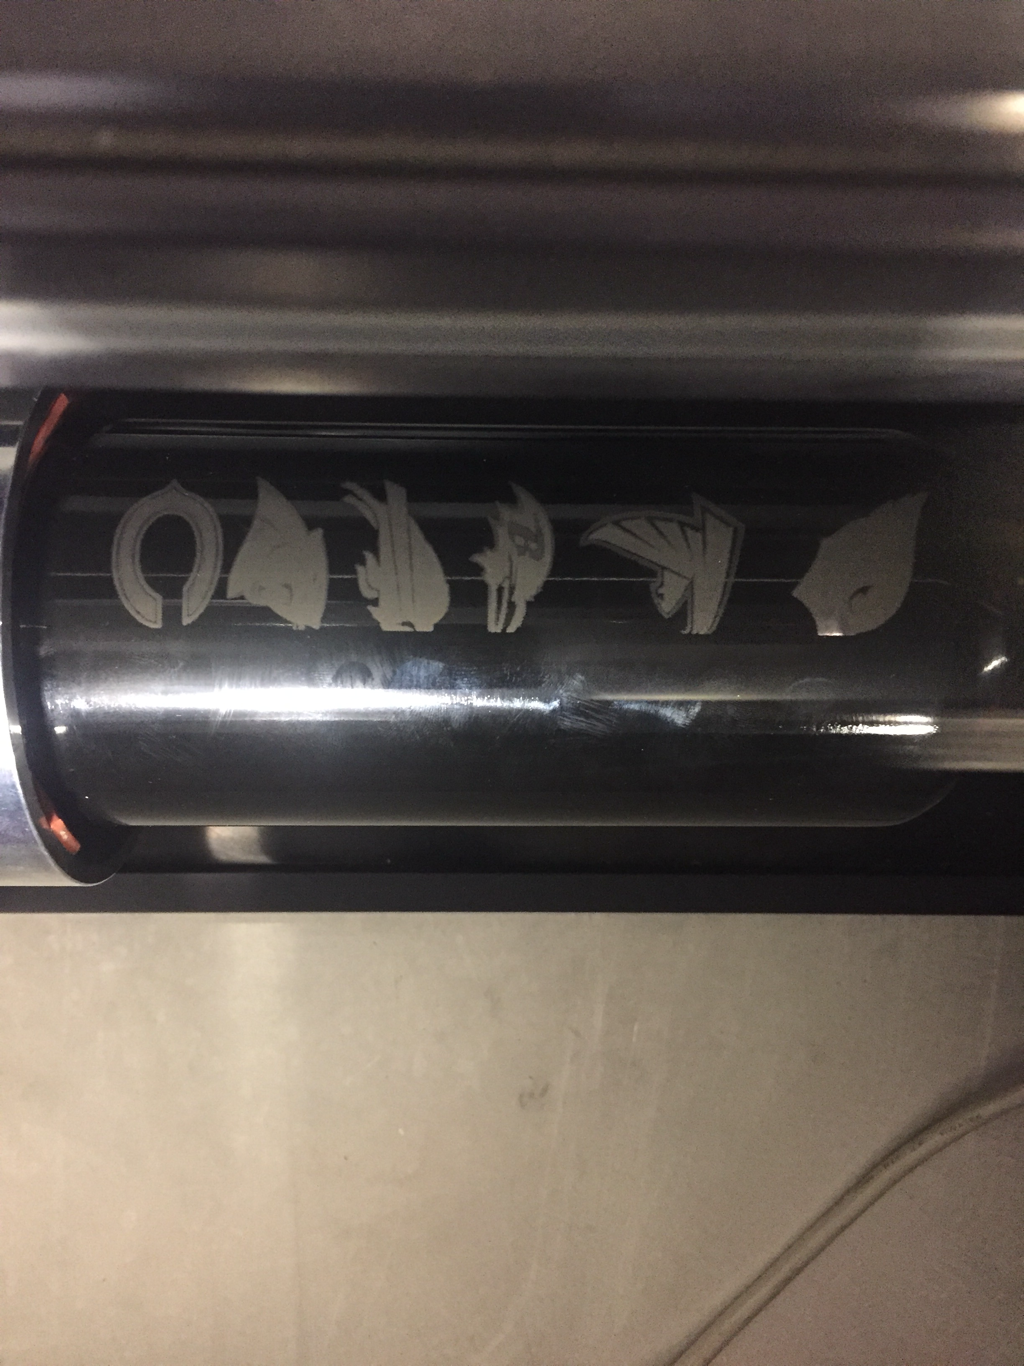
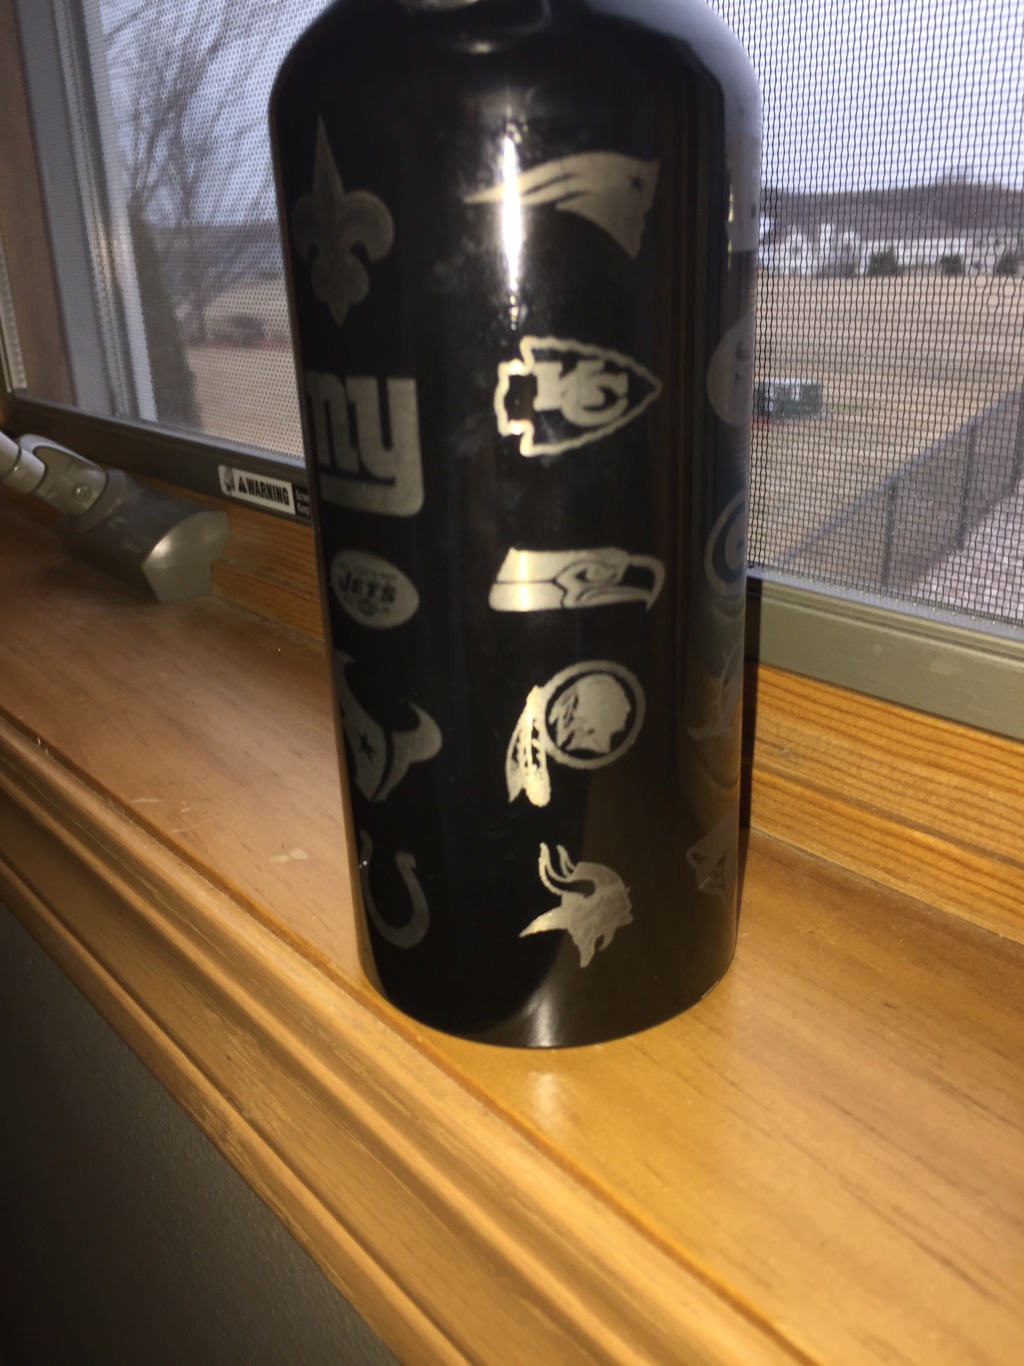
Bottle: When I read about this project on the class power point. I remembered seeing one of my friends bottles from first semester. It was all baseball teams around the outside of the bottle. So, I thought of putting all 32 NFL teams on the outside of the bottle. The only hard part was finding an image that spread out all 32 teams evenly. Once I found the image the rest of it was easy.
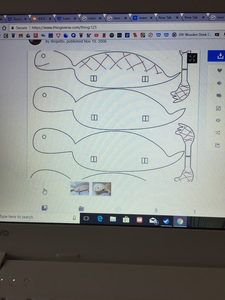
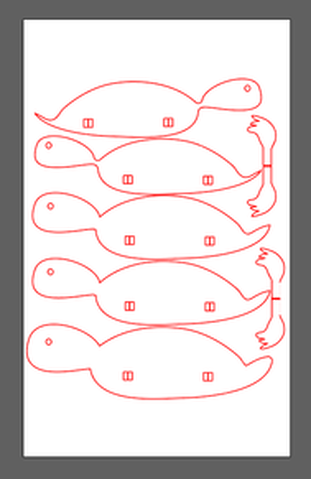
3-D image; The last project I had to do was creating a 3d image by cutting out individual pieces and putting them together. Our teacher gave us an website to use called thing verse. Nothing on the website looked to interesting until I came across this turtle. It looked really easy to make. Also would look cool in my room.
Images from Designer notebook
Recipe
Open the Illustrator file on the computer that is set up with the laser. Then hit File, Print. Then click the printer called VLS6.60. Then hit Setup. Go to the Materials Tab and use the caliper to measure the thickness of the material. Find the material you are using.. Then click OK. Open the UCP software from the desktop for the laser. Then turn on the laser. Make sure exhaust is on (switch on the wall). Put the material in the laser and line it up with an edge. Your image should show on the screen. Use the Focus tool to move the laser to your material. Then line the laser up with one of the corners of your printing space on the material. Click the Relocation tool, and select the matching corner of your design to where you placed the laser on the material. Go back to the tool and check all for corners of your image to make sure it won’t print off of your material. Finally press the large green play button.
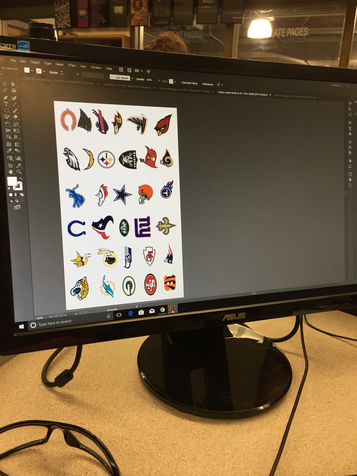
Digital Screenshots
|
|
|
Screenshots from setting up your Items using the UCP/Illustrator
|
|
Photos of me using the laser
|
|
|
Photos of Final Project
|
|
What I learned using the laser engraver
I learned that you can put any text on any object with just a couple pushes of a button and a laser engraver. Using two different programs called Illustrator and UCP. You design the product in Illustrator and use UCP to engrave the design on your material. Your design will then tell the laser engraver to do certain things. Such as using a certain color or red will tell the laser engraver to cut all the way through the piece of material.
